Hello fellow yarn lovers! Are you ready to add a touch of cozy, handmade charm to your home this autumn? We’re so excited to share our collection of lovely pumpkin crochet patterns that are sure to brighten your season!
Imagine plump, delightfully textured pumpkins, each one a unique creation stitched with love. These adorable pumpkins are perfect for adorning your mantelpiece, filling a decorative bowl, or even as sweet, heartfelt gifts for friends and family. Whether you’re just starting your crochet journey or you’re a seasoned crafter looking for a quick and satisfying project, these patterns are designed with you in mind! We’ll guide you through simple stitches and techniques, so you can crochet your way to a stunning pumpkin display in no time.
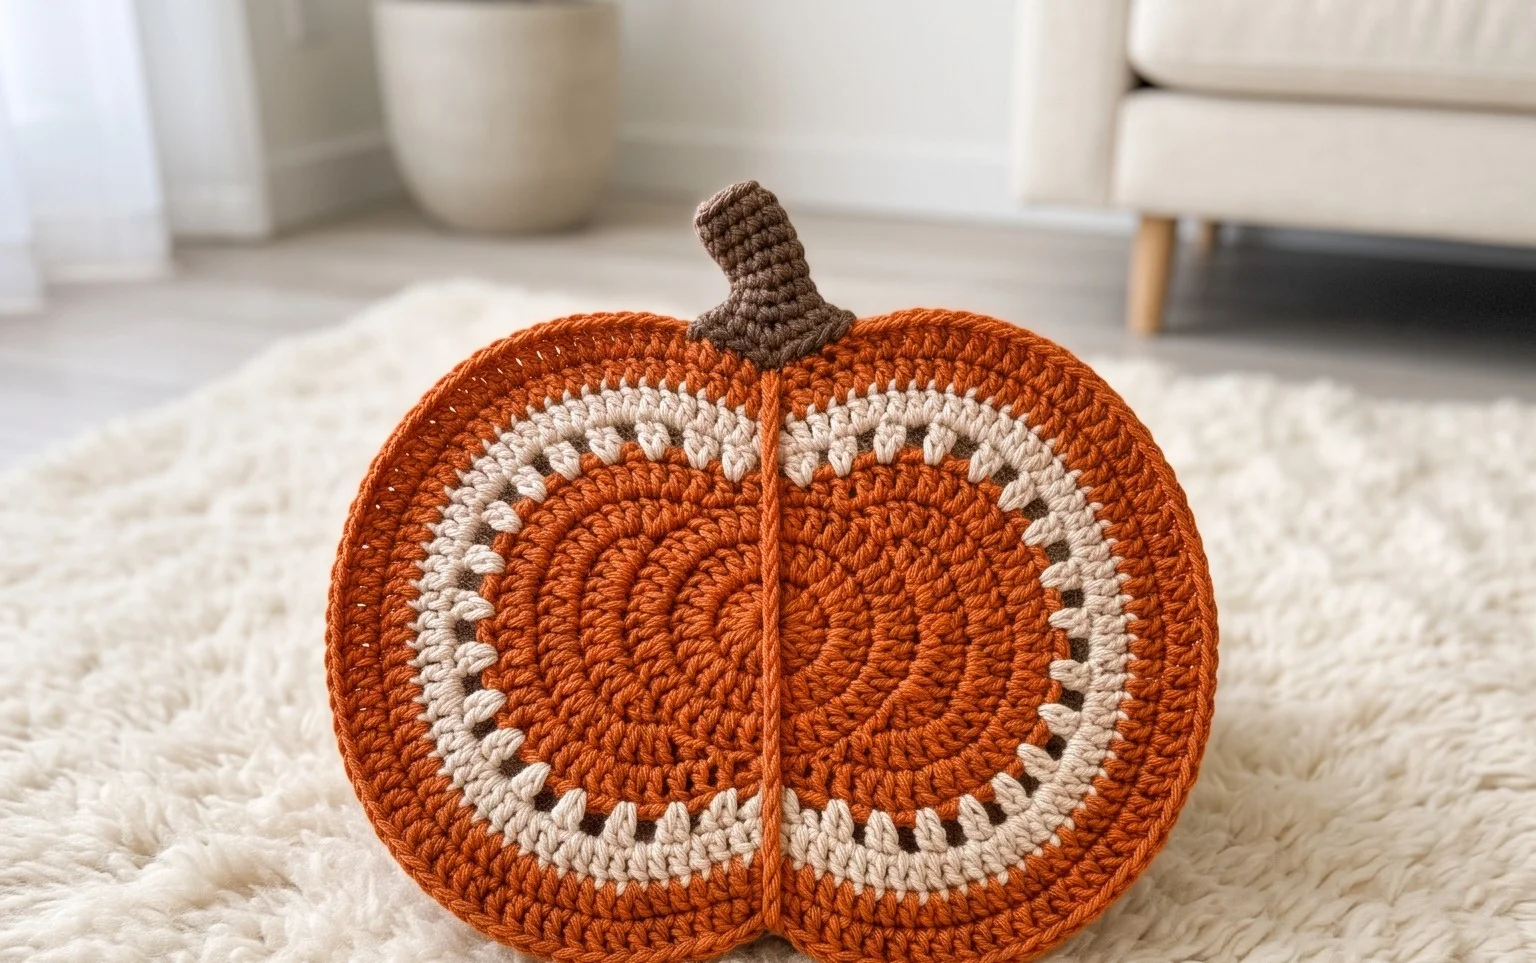
Lovely Pumpkin Decorations: Crochet Your Way to Autumn Charm
Autumn is a season that just begs for cozy crafts and delightful décor. There’s something incredibly satisfying about surrounding yourself with the warm, inviting colors and textures of fall. And what embodies autumn more than pumpkins? These cheerful gourds, in all their varied shapes and sizes, are the quintessential symbol of harvest time and Halloween fun.
If you’re a crochet enthusiast, or even if you’re just dipping your toes into the wonderful world of yarn, creating your own crochet pumpkins is a project that’s both incredibly rewarding and surprisingly achievable. Imagine adorning your mantelpiece, shelves, or even your Thanksgiving table with these charming handmade creations. This guide will walk you through everything you need to know to craft your very own lovely pumpkin decorations, complete with free crochet patterns to get you started.
Choosing Your Yarn and Hook: The Foundation of Your Pumpkin
The yarn and hook you choose will significantly impact the look and feel of your crochet pumpkins. For these decorative pieces, you’ll want something that provides a good stitch definition and a bit of structure.
Yarn Recommendations:
Worsted Weight Yarn: This is the most common and versatile choice for crochet pumpkins. It’s readily available in a vast array of colors, from classic pumpkin orange and earthy browns to softer pastels and even variegated shades. Brands like Red Heart Super Saver, Lion Brand Vanna’s Choice, and Bernat Handicrafter are excellent, budget-friendly options that hold their shape well.
Acrylic Yarn: Most acrylic yarns are washable and durable, making them ideal for decorative items that might get handled or displayed for extended periods. They also come in a stunning spectrum of colors, allowing for endless customization.
Cotton or Cotton Blends: For a slightly more rustic or natural look, consider cotton or cotton blend yarns. These can give your pumpkins a slightly stiffer feel, which can be nice for standing decorations. They also offer beautiful stitch definition.
Bulky Weight Yarn (for larger pumpkins): If you’re aiming for larger, more substantial pumpkins, a bulky weight yarn can be your best friend. This will allow you to work up your project much faster and create a cozy, plump look.
Hook Size:
The recommended hook size will usually be indicated on your yarn label. However, for decorative pumpkins, many crocheters prefer to go down a hook size from the yarn’s recommendation. This creates a denser fabric, preventing the stuffing from showing through and giving your pumpkins a firmer, more polished appearance.
Typical Hook Size for Worsted Weight: A good starting point for worsted weight yarn is a US H/8 (5mm) or US I/9 (5.5mm) hook. If you want a tighter fabric, consider a US G/6 (4mm) hook.
Experimentation is Key: The best way to determine the perfect hook size is to crochet a small swatch. It should be firm enough that you can’t easily see through it when you gently stretch it.
Mastering the Stitches: The Building Blocks of Your Pumpkin
The beauty of crochet pumpkins often lies in their simplicity. Most free patterns utilize a few fundamental crochet stitches that are perfect for beginners to learn.
Essential Stitch Techniques:
Magic Ring (or Magic Circle): This is the foundation for creating seamless circles, which is how most pumpkin tops and bottoms are started. It allows you to create a tight, adjustable loop, ensuring there are no holes in the center of your work.
Single Crochet (sc): This is the most basic crochet stitch and will likely form the bulk of your pumpkin’s body. It creates a dense and sturdy fabric.
Half Double Crochet (hdc): This stitch is slightly taller than a single crochet, creating a bit more texture and working up slightly faster.
Double Crochet (dc): While less common for the main body of a tightly stuffed pumpkin, double crochet might be used in some patterns for variations in texture or for smaller embellishments.
Increases (inc): To create the rounded shape of a pumpkin, you’ll need to increase the number of stitches in certain rounds. Typically, this involves crocheting two single crochets (or hdc/dc) into the same stitch.
Decreases (dec): To shape the top and bottom of your pumpkin, you’ll use decreases. The most common decrease for single crochet is the “invisible decrease,” where you work through the front loops only of two stitches.
Slip Stitch (sl st): Used to join rounds and finish off your work.
Tips for Beginners: Crocheting Your Way to Success
If you’re new to crochet, don’t be intimidated! Pumpkin decorations are fantastic projects for building your skills and confidence.
Start with a Simple Pattern: Look for patterns that explicitly state they are beginner-friendly and use basic stitches like single crochet and increases/decreases.
Use a Stitch Marker: This is your best friend when working in the round. Place a stitch marker in the first stitch of each round to help you keep track of where you started and ended. This prevents you from accidentally adding extra stitches or missing them.
Count Your Stitches: Consistency is key! Regularly count your stitches at the end of each round to ensure you haven’t made any mistakes. It’s much easier to fix an error early on than when your pumpkin is almost complete.
Practice the Magic Ring: The magic ring can be a bit fiddly at first, but once you get the hang of it, it’s a game-changer for creating neat, hole-free beginnings. Watch a few YouTube tutorials; visual learners often find this very helpful.
Don’t Pull Too Tight: While you want a firm fabric, pulling your yarn too tightly can make it difficult to work into the stitches and can lead to hand fatigue. Aim for a relaxed tension.
Weave in Your Ends Neatly: Before stuffing, take the time to weave in all your yarn ends securely. This will prevent your stuffing from escaping and give your pumpkin a professional finish.
Customizing Your Pumpkins: Unleash Your Creativity!
The beauty of crochet is its inherent ability to be customized. Your lovely pumpkin decorations can be as unique as you are!
Color Palette Perfection:
Classic Orange: Of course, no pumpkin collection is complete without the traditional vibrant orange.
Earthy Tones: Explore shades of brown, deep red, mustard yellow, and even a muted sage green for a more natural, rustic feel.
Pastel Dreams: Soft pinks, mint greens, lavender, and pale blues create a whimsical and modern take on the pumpkin.
Variegated Yarns: Yarns with subtle color changes can add a beautiful, organic look to your pumpkins, mimicking the natural variations in real gourds.
Two-Tone or Striped: Try alternating colors in your rounds for a fun, striped effect, or even work a contrast color for the stem.
Size Matters: From Tiny Trinkets to Statement Pieces:
Most free pumpkin patterns are designed to be easily adjustable by simply continuing to work more or fewer rounds.
Baby Pumpkins: Work fewer rounds of increases and fewer rounds of straight single crochet. These are perfect for tiny accents, scattered on a shelf, or even as part of a garland.
Medium-Sized Pumpkins: Follow a standard pattern for a classic decorative size that looks great on its own or in a group.
Large Statement Pumpkins: Continue adding rounds of straight single crochet until you achieve your desired size. You might need more stuffing for these larger creations.
Embellishments and Details:
Stems: Most patterns include instructions for a crocheted stem. You can also get creative with:
Twisted brown yarn strands.
Faux twigs or small branches.
Embroidery floss for a thinner, more delicate stem.
Leaves: Crochet small leaf shapes in green or brown yarn to attach to the stem.
Vines: Create thin crocheted chains in green yarn to wrap around your pumpkins.
Embroidery: Use embroidery floss to add stitched details, like lines or speckles, to mimic the texture of real pumpkins.
Buttons: A small, decorative button can add a unique touch to the top of the pumpkin.
Caring for Your Crochet Pumpkins: Keeping Them Lovely
Crocheted items, especially those made with acrylic yarn, are generally quite easy to care for.
Spot Cleaning: For minor dust or smudges, gently spot clean with a damp cloth and mild soap. Avoid excessive rubbing, which can damage the yarn.
Hand Washing (Recommended): If a more thorough cleaning is needed, hand wash your pumpkins in cool water with a small amount of wool wash or mild detergent. Gently squeeze out excess water – do not wring.
Reshaping and Drying: Gently reshape the pumpkin while it’s damp and lay it flat on a clean towel to air dry. Avoid direct sunlight or heat, which can cause colors to fade or damage the fibers.
Stuffing: If your pumpkins become a bit misshapen over time, you can easily open a small seam at the bottom and add more stuffing to restore their plump form.
Project Ideas: More Than Just Shelf Decor!
Your lovely crochet pumpkin decorations are incredibly versatile. Here are a few ideas to inspire you:
Mantelpiece Magic: Arrange a collection of pumpkins in varying sizes and colors on your mantelpiece for a cozy autumnal display.
Table Centerpieces: Use a few medium-sized pumpkins as a charming centerpiece for your dining table, especially for Thanksgiving.
Wreath Embellishments: Attach smaller pumpkins to a grapevine wreath for a festive door decoration.
Garland Creations: String together a series of small pumpkins on a yarn strand to create a delightful autumn garland.
Gift Toppers: A tiny crochet pumpkin makes the perfect unique gift topper for any fall-themed present.
Playroom Fun: Soft, crocheted pumpkins are safe and delightful for little ones to play with.
Harvest Baskets: Use larger pumpkins as decorative baskets to hold smaller autumn-themed items.
Crocheting your own lovely pumpkin decorations is a wonderfully satisfying way to embrace the autumn season. With a little yarn, a hook, and some patience, you can create a charming collection of handmade treasures that will bring warmth and personality to your home for years to come. Happy crocheting!
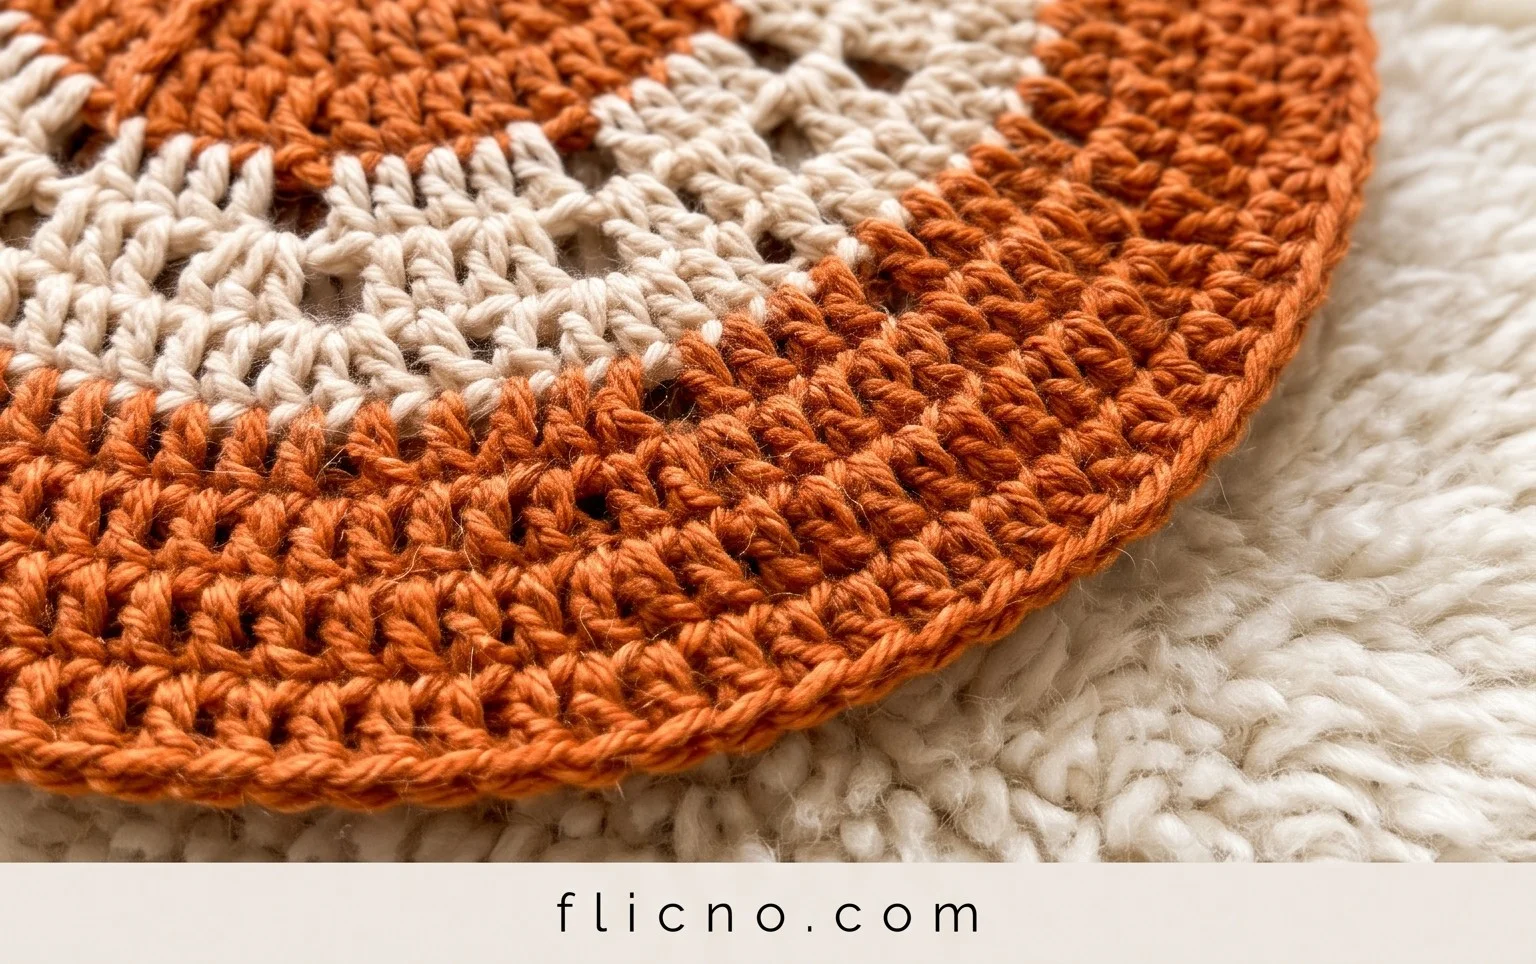
Aren’t these crochet pumpkins just the sweetest? I hope this free pattern has inspired you to grab your hook and yarn and bring some festive charm to your home. They’re a wonderfully quick and satisfying project, perfect for a cozy afternoon!
Don’t forget to share your adorable finished pumpkins with us on social media using #LovelyCrochetPumpkins – we’d absolutely love to see your creations! Feel free to get creative with colors, stitch patterns, or even add little leaf embellishments. And when you’re ready for your next yarn adventure, be sure to explore more delightful patterns here on the blog!